A couple of months after the Situation started and everyone was busy working out and caring for sourdough starters, I tried my hand at gardening and found that it really took the edge off. Of course, the sun and I are old enemies, so it was only a matter of time before I tried doing at least part of the operation indoors. It was a natural step from there to do at least a little of that hydroponically. What could go wrong?
Goals
Your first impressions of hydroponics might be that it’s generally done in carefully controlled conditions and with a good deal of automation. I had the same impression, but that takes money I didn’t want to spend and time that went into troubleshooting fiddly physical components. It’s still not a mature system by any stretch, but it has been running long enough to produce tomatoes.
Basically, this series will be about outfitting an existing hydroponics setup with sensors, and today’s entry is about testing. We have three goals today:
- Ensure that sensors are wired into a Raspberry Pi 4 such that we can get readings out of them.
- See that we are using the right database technology for our needs.
- Ensure that those database entries can be seen from a website. There is the caveat that the database and (currently) the site to view it are being self-hosted from the Raspberry Pi that is gathering the sensor readings, so uptime might be an issue.
You can check out the code here. As of this writing, you can also check out the most recent sensor readings on the live site here, but be aware that the frontend will probably be accessible as a Vercel app later. This is all very preliminary work, and I’m having a ball figuring out how to put everything together.
The Current Setup
There are a few kinds of hydroponics setups. The first I’m using has a heavy focus on the ebb and flow method, with two reservoirs (cheap 30-gallon totes) that feed into four beds (honestly, two old plastic drawers and two new under-bed storage bins). One of these systems is arranged in a tower configuration, with water being pumped into the top bed and being pumped into the ones beneath it with a series of bell siphons.
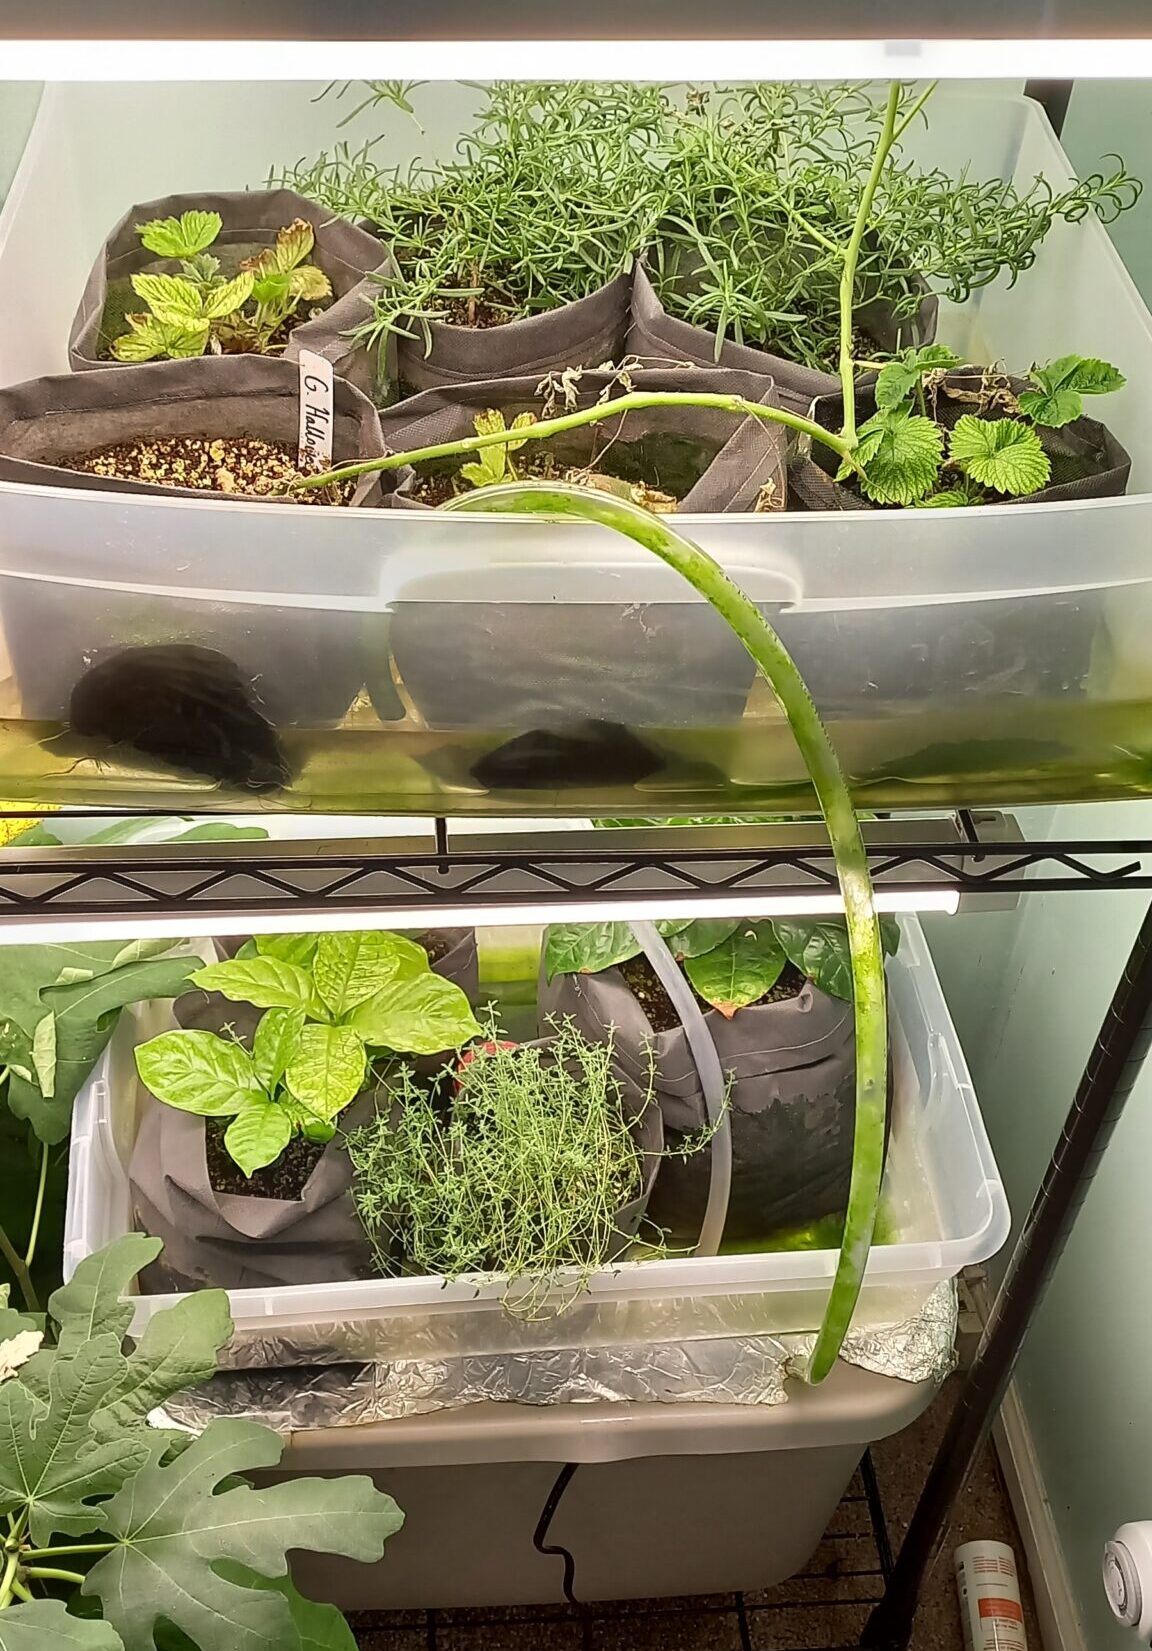
Reservoir 1, in which the beds feed in parallel. Water is pumped to the top bed, which fills and releases the water to the bottom bed by means of a bell siphon.
The second ebb and flow system runs in parallel, with both beds feeding directly back into the reservoir. The increased modularity seemed like a good idea at the time, but it has turned out to be really finicky given the ad hoc nature of the setup.
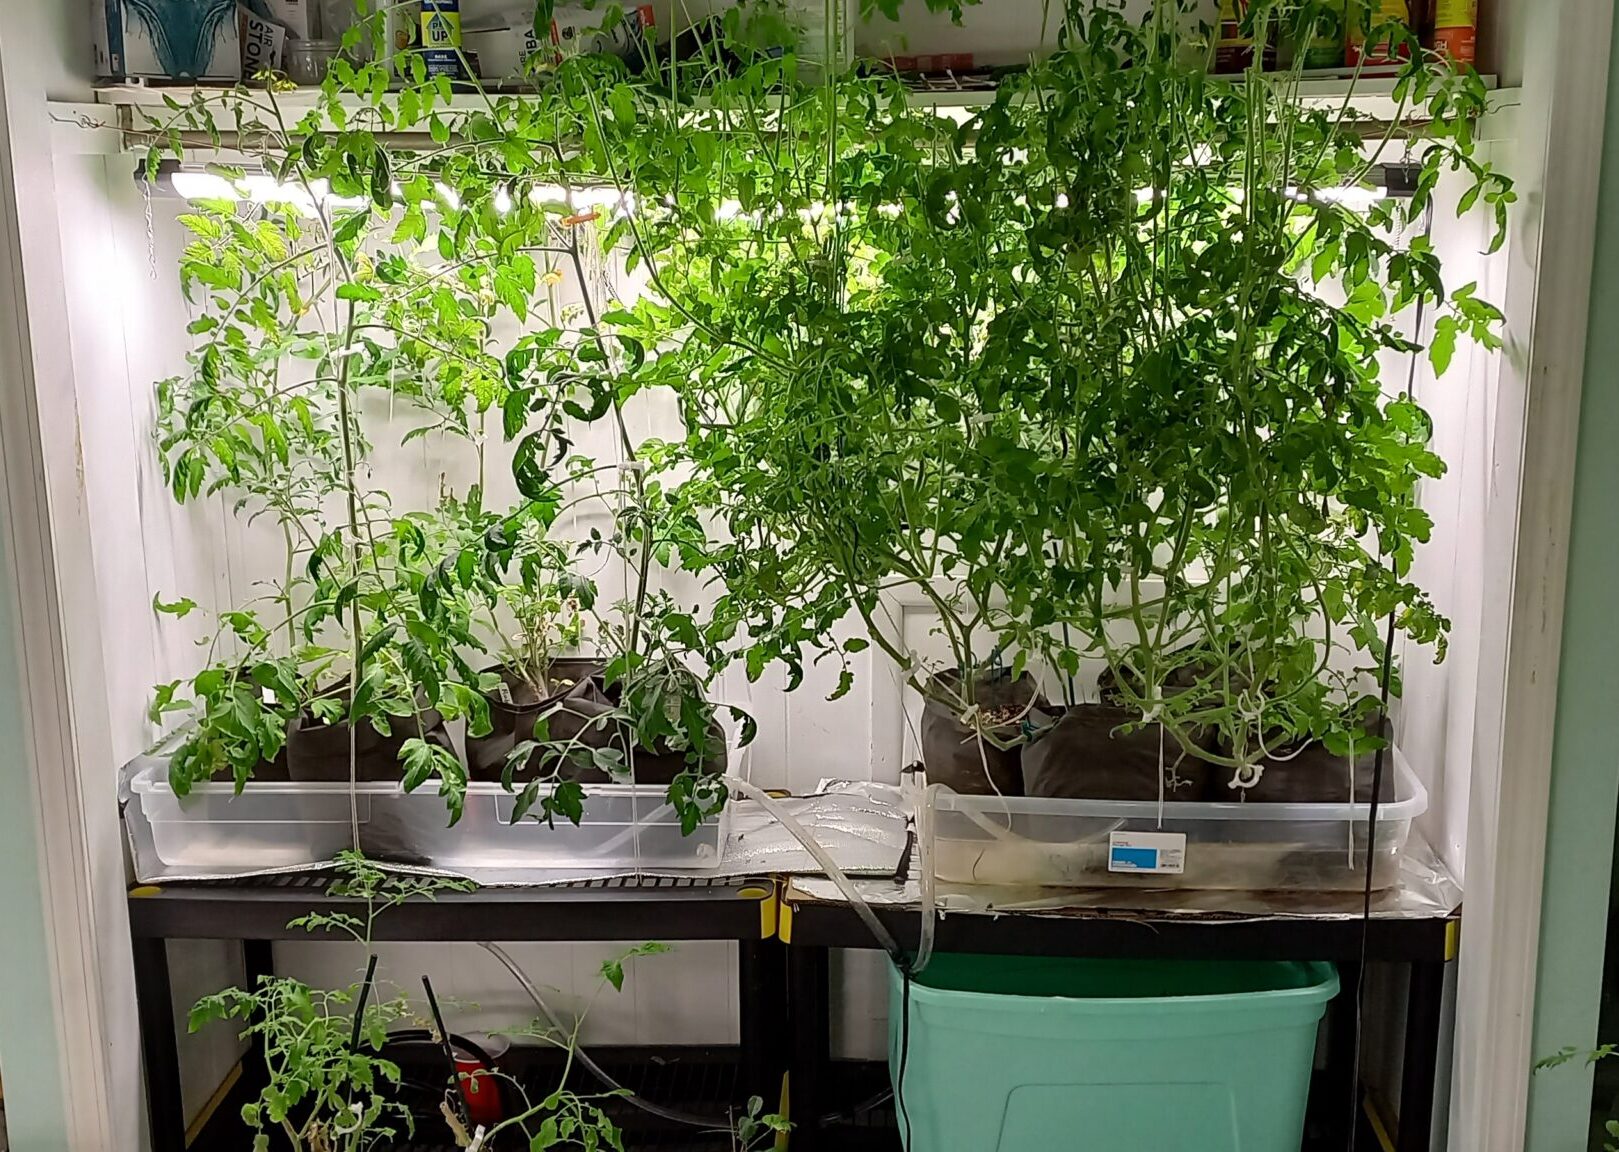
Reservoir 2, in which each of the beds feed from the reservoir in parallel.
Our plans here today are focus on two of five deep water cultures. They feed from similar 30-gallon totes. The plants themselves rest in 3D-printed net pots for support, and their roots rest in a nutrient solution. Oxygen is delivered to them via an air pump.
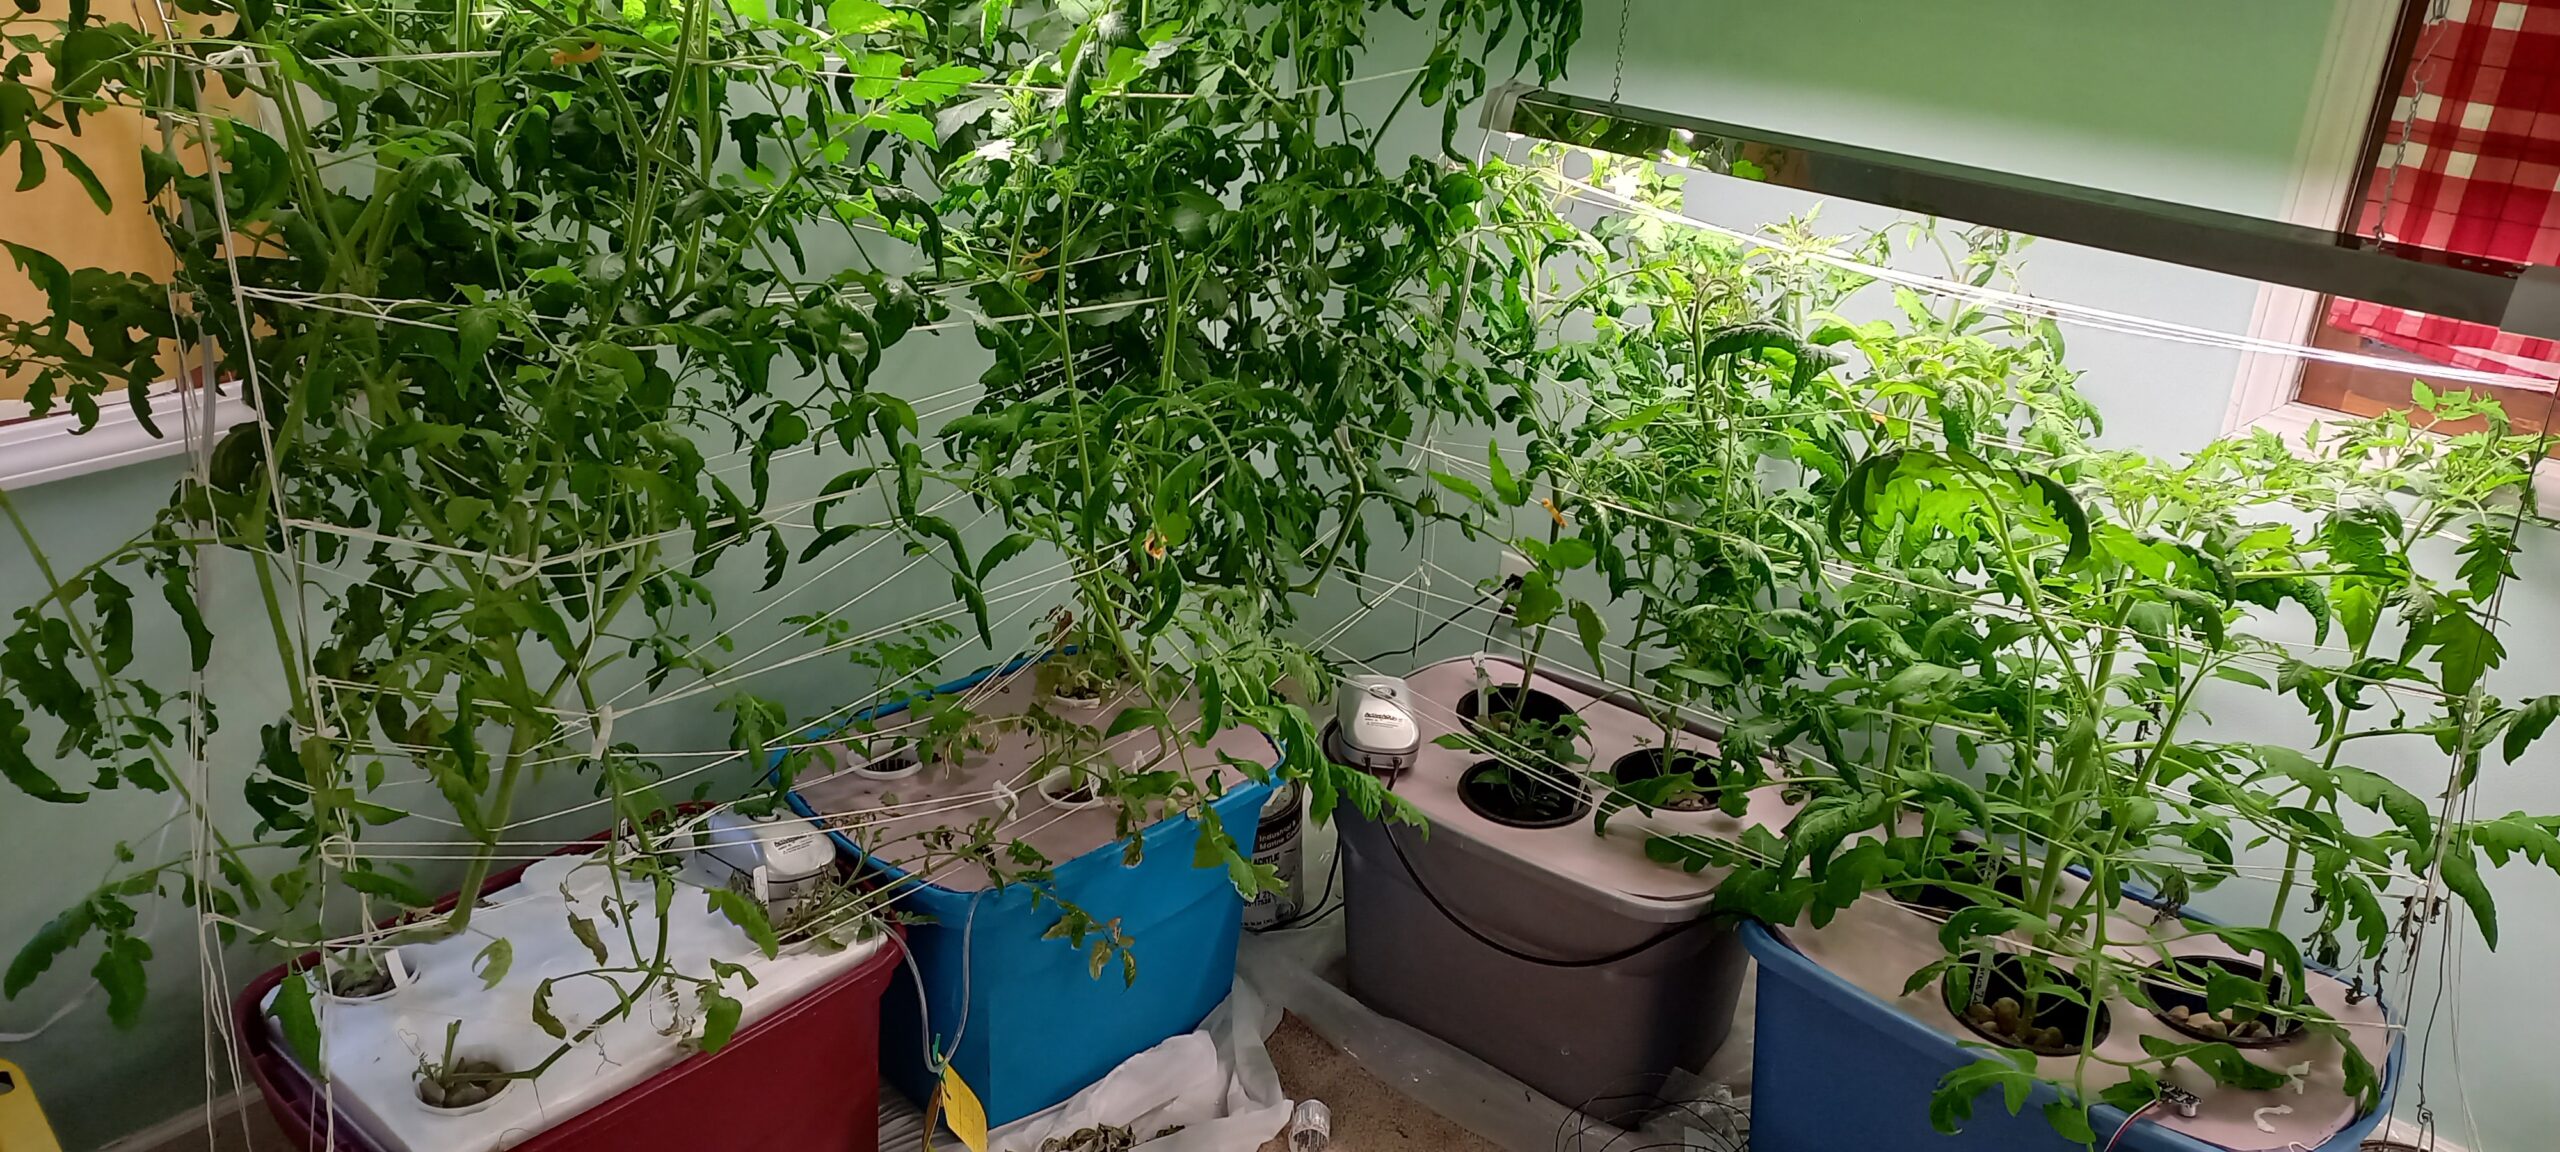
Four of the five deep water hydroponic systems.
Because it is still early days and we are mostly interested in setting up monitoring infrastructure today, the plan is to focus on Deep Water 3 and 4.
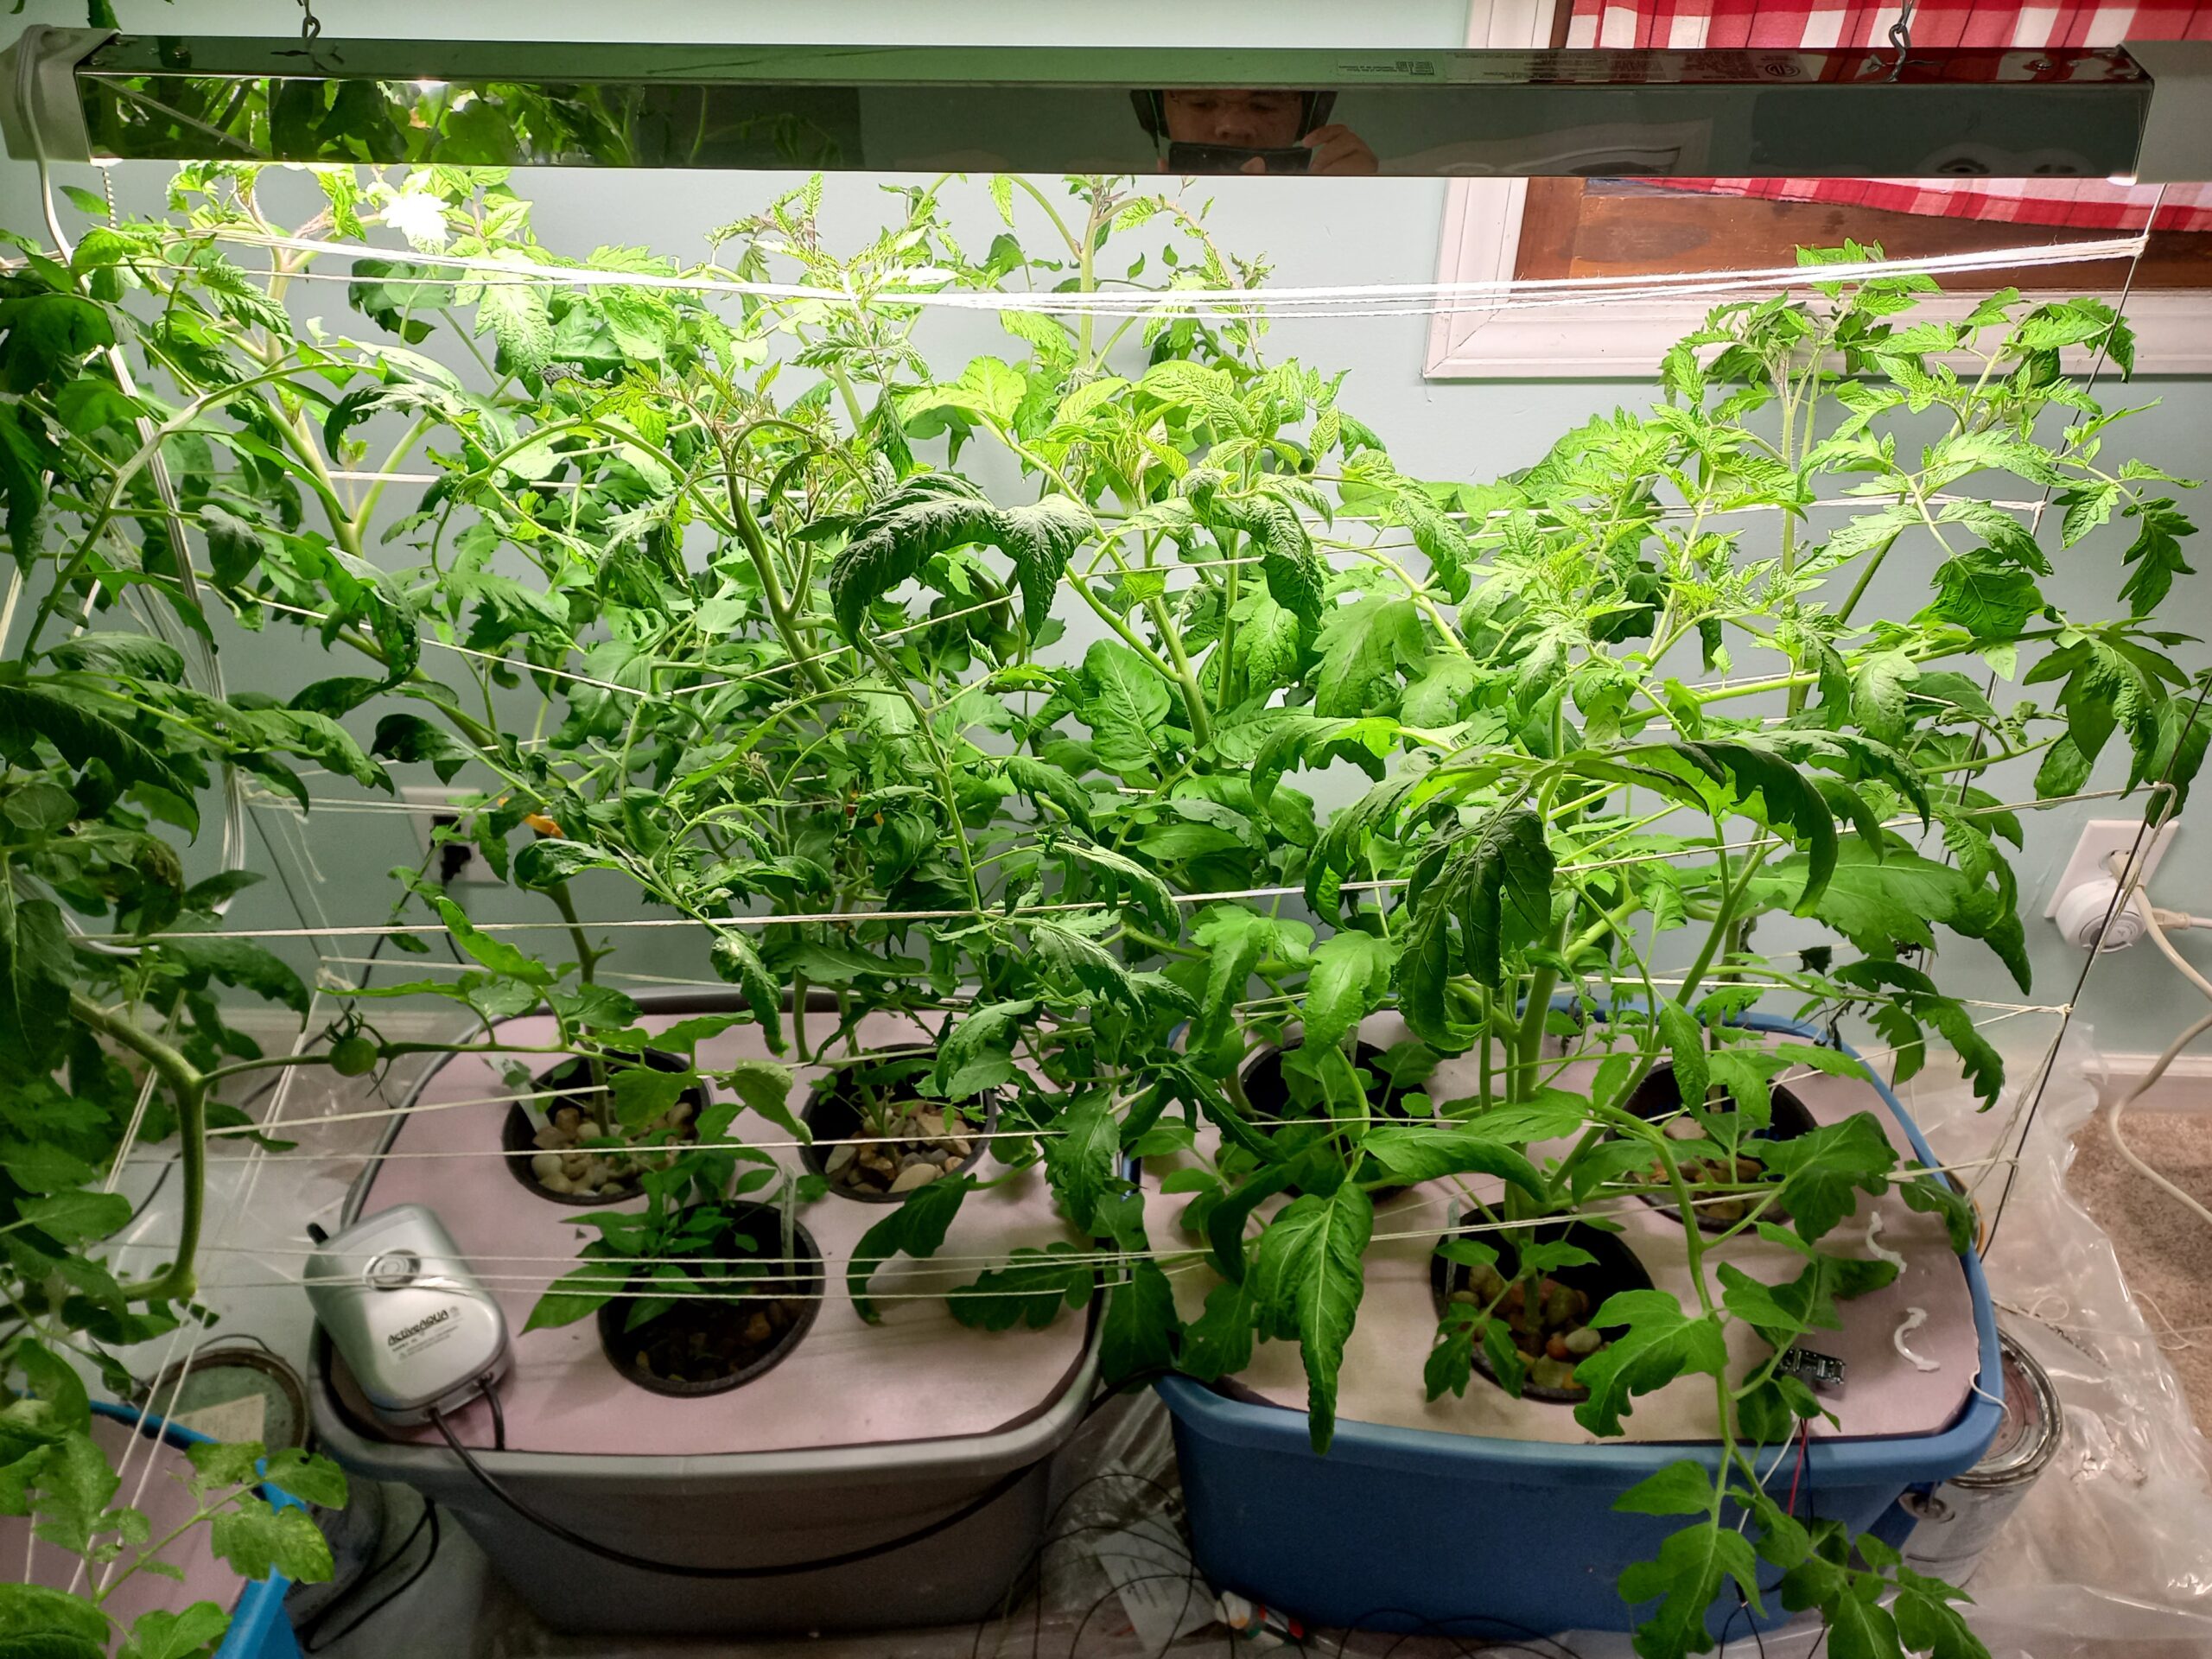
The deep water cultures are currently entirely growing tomatoes, save for a single pepperoncini plant. The ebb and flow systems have a combination of tomatoes, rosemary, figs, strawberries, and coffee plants (seriously).
The Physical Computing Elements
I’ve finally found a use for some of the sensors I’ve been gradually accumulating for a few years. At the base of this is a Raspberry Pi 4. Unfortunately, Raspberry Pis are being hit hard from semiconductor supply chain issues, so if anyone is looking to follow this blog exactly and you don’t already have one, you have been warned.
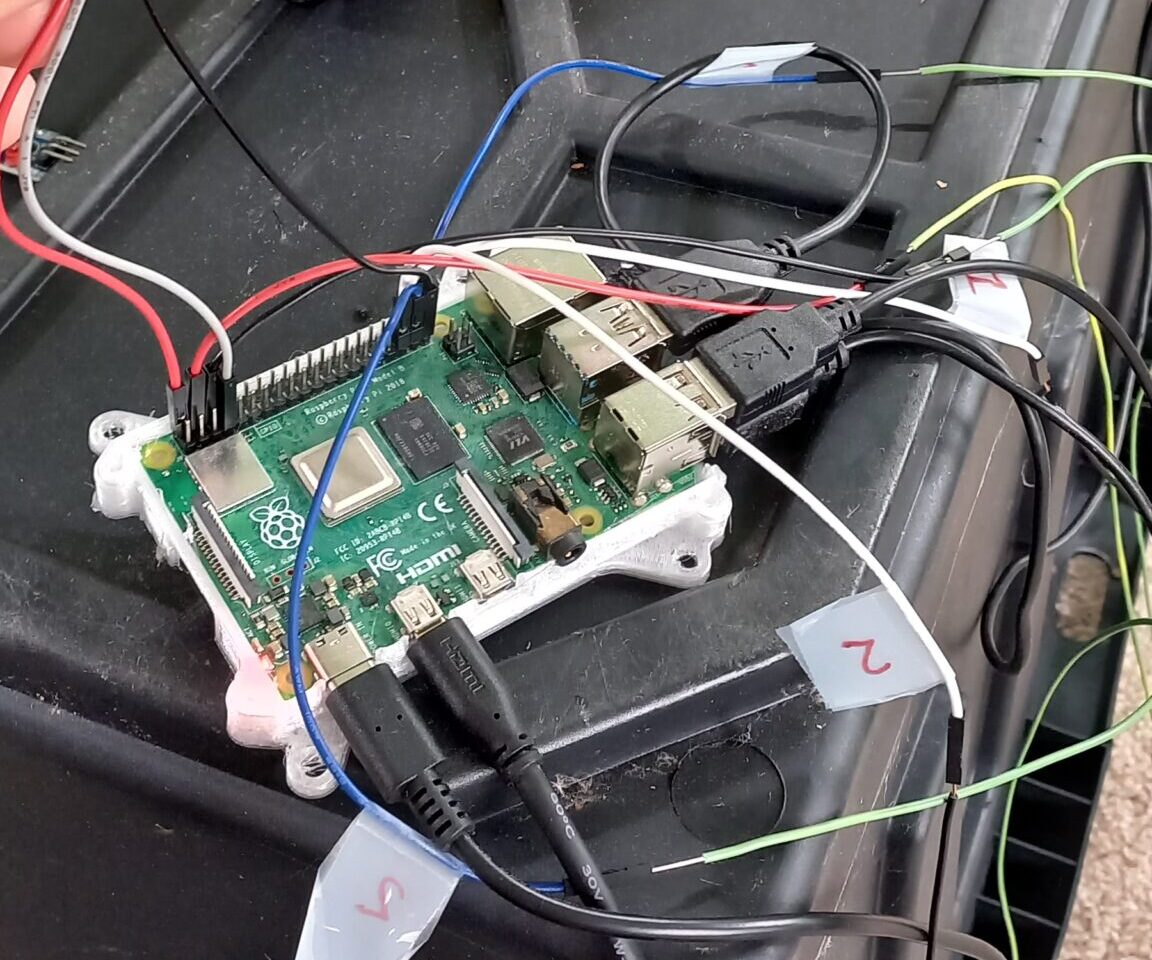
An exposed Raspberry Pi 4 currently wired into a small collection of sensors.
The rough idea today includes two sensors. First, we have the DHT11 temperature and humidity sensor. When I first ran the code to get this thing running, I thought back to the day I bought this sensor on a whim and felt remorse. Its superior counterpart, the DHT22, was right there. A little reading indicates that it is less precise in its readings and has some harder limits on its constraints. Still, in the environment that this one is meant to operate in, it will still do us fine.
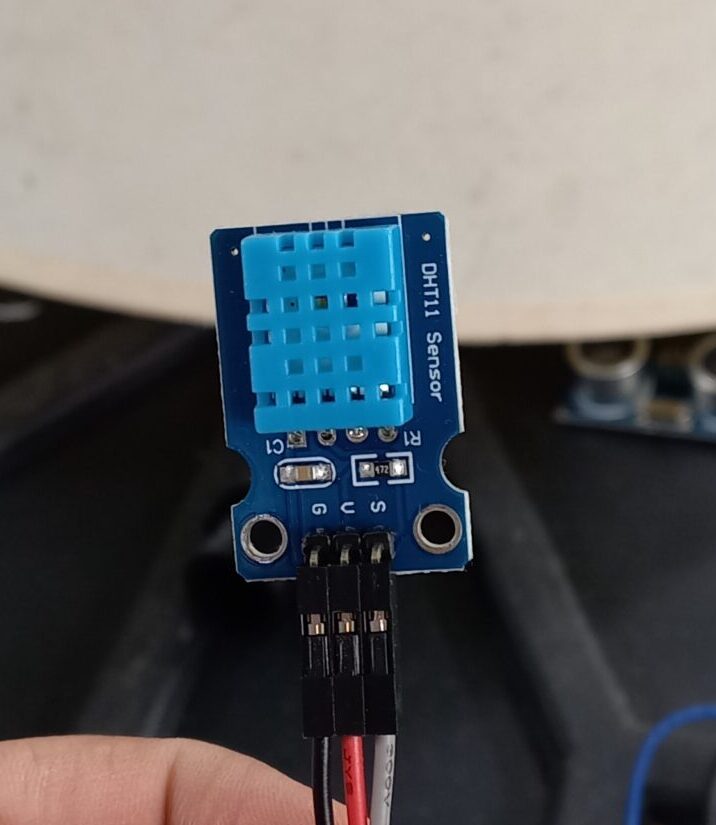
A DHT-11 sensor for temperature and humidity.
Then we have the HC-SR04 ultrasonic rangefinder. It might seem like an odd sensor when dealing with plants, but this is actually useful in determining water levels of the reservoirs.
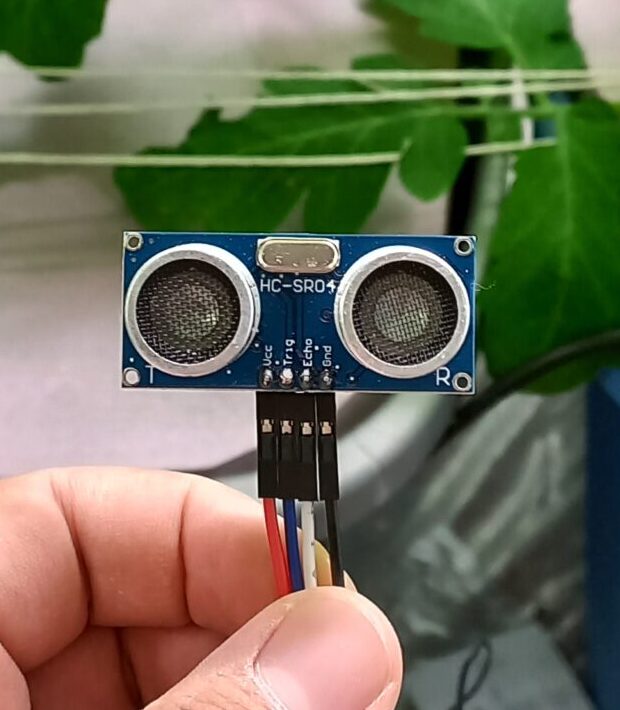
An HC-SR04 ultrasonic rangefinder to measure the volume in a given reservoir.
Finally, we have an ancient webcam to get at least some visuals on the plants themselves. Having had a chance to look at the image quality before writing this article, it seems likely that it will be replaced.
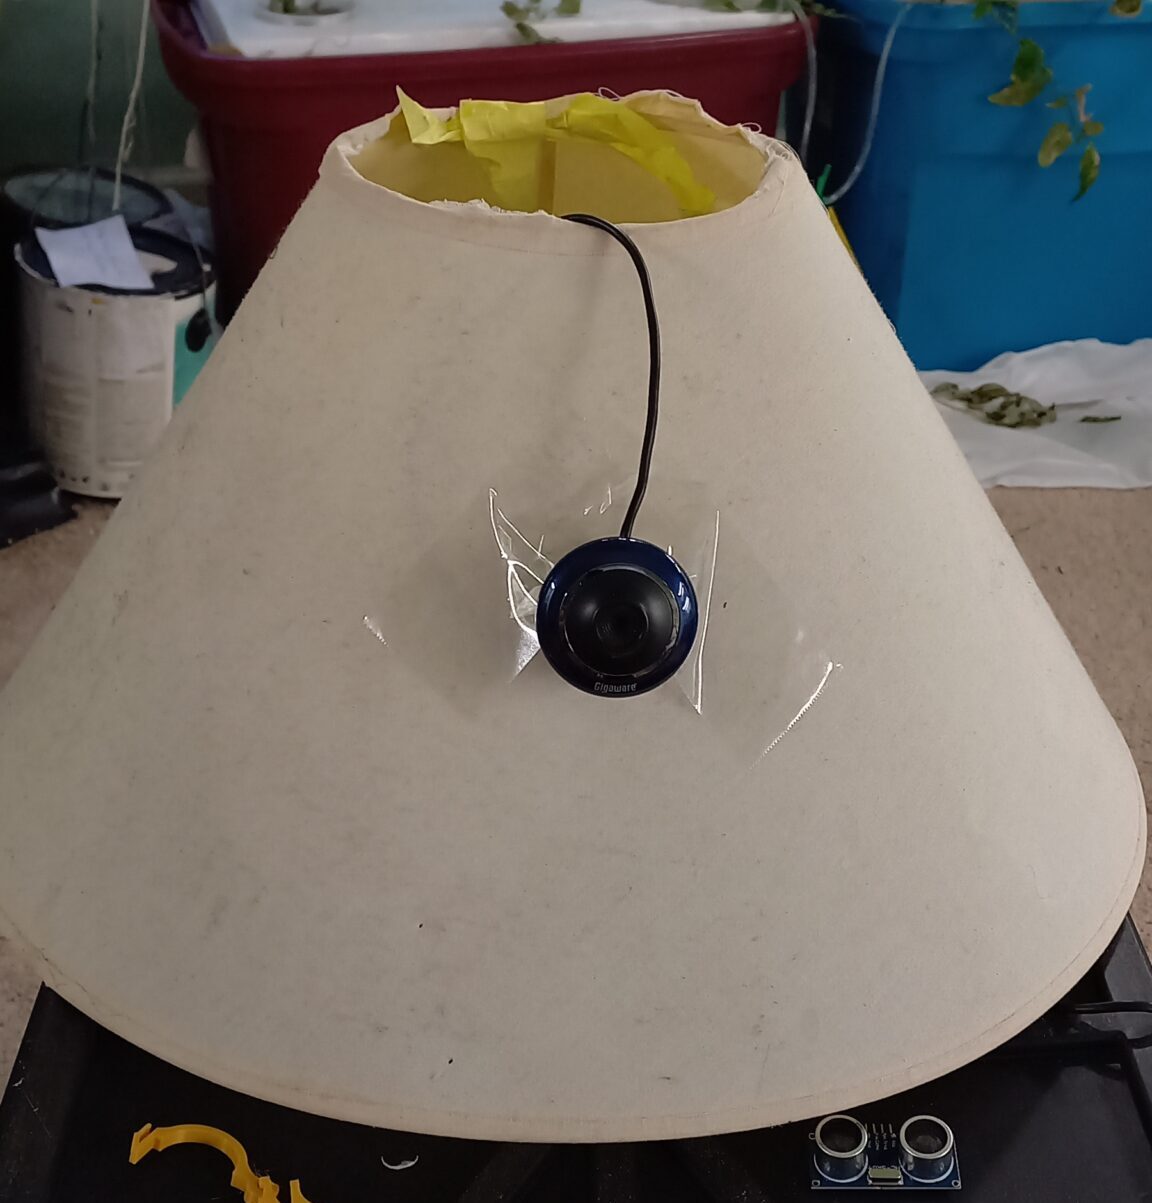
A webcam with an elegant and finely-crafted stand.
The Page
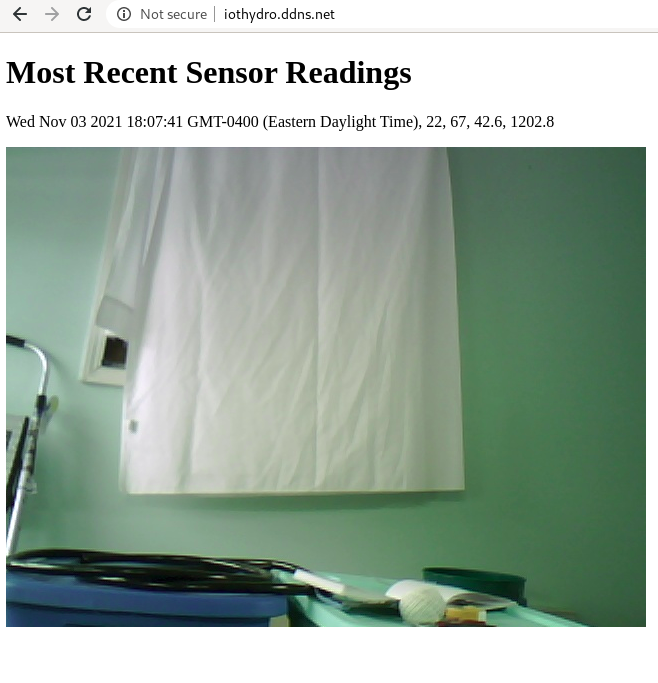
What are we looking at here? Remember the three goals from earlier. We needed to make sure that all of our sensors were wired correctly, that they could feed information into a database, then recover that information from the database and present it a user over the internet. Here, we see what amounts to dummy data validating all of these things.
The first element that we get from the database is a timestamp. 22 is the temperature in degrees Celsius. 67 is the percentage of humidity. The two values at the end are simple distances from the ultrasonic rangefinders. They have not been mounted, and when they are, these raw distances will be used to compute the amount of storage in each of the bins. At the bottom is an image taken by the web cam.
It’s a little… Fresh. But the system works!
The Software
I learned a ton on this project. A proper examination of everything is beyond the scope of this post and will be covered later, but let’s see some highlights:
- The Raspberry Pi interfaces with the sensors through Python.
- This portion of the project is self-hosted, and I went through NoIP to get a reasonable hostname.
- On the backend, I decided to use Nginx for the web server technology and ExpressJS for the application framework.
- Due to my prior experience and relative comfort with it, I opted with stick with MySQL for the database.
- Because of my momentum with it, the door is wide open for further work with React.
The Next Moves
Taking a minute to pause and reflect, we can see that we now have the basic sketch for an IoT monitoring system. As such, the project is now in a good place for aggressive expansion.
In case it isn’t obvious by now, the hydroponics setup is a pilot project. As of this writing, it is about as manual as a hydroponics operation can be. Water is swapped out, nutrients are added, and most relevant for this article, a lot of notes and photos are still taken by hand. The most obvious next step is setting up a means by which that information can be added to its own database from the client side, such as a phone. Breaking this down a bit, that means adding post capabilities, probably another page with Express, and very importantly, user authentication.
The current site is entirely static and passive, and it only displays the most recent sensor data. The most obvious direction to go on this front would be adding a page to more thoroughly query the database, and building on that, a page that can handle data visualization.
And, of course, actually doing a meaningful presentation with HTML and CSS would go a long way. Early Days!